Frog Paperweight

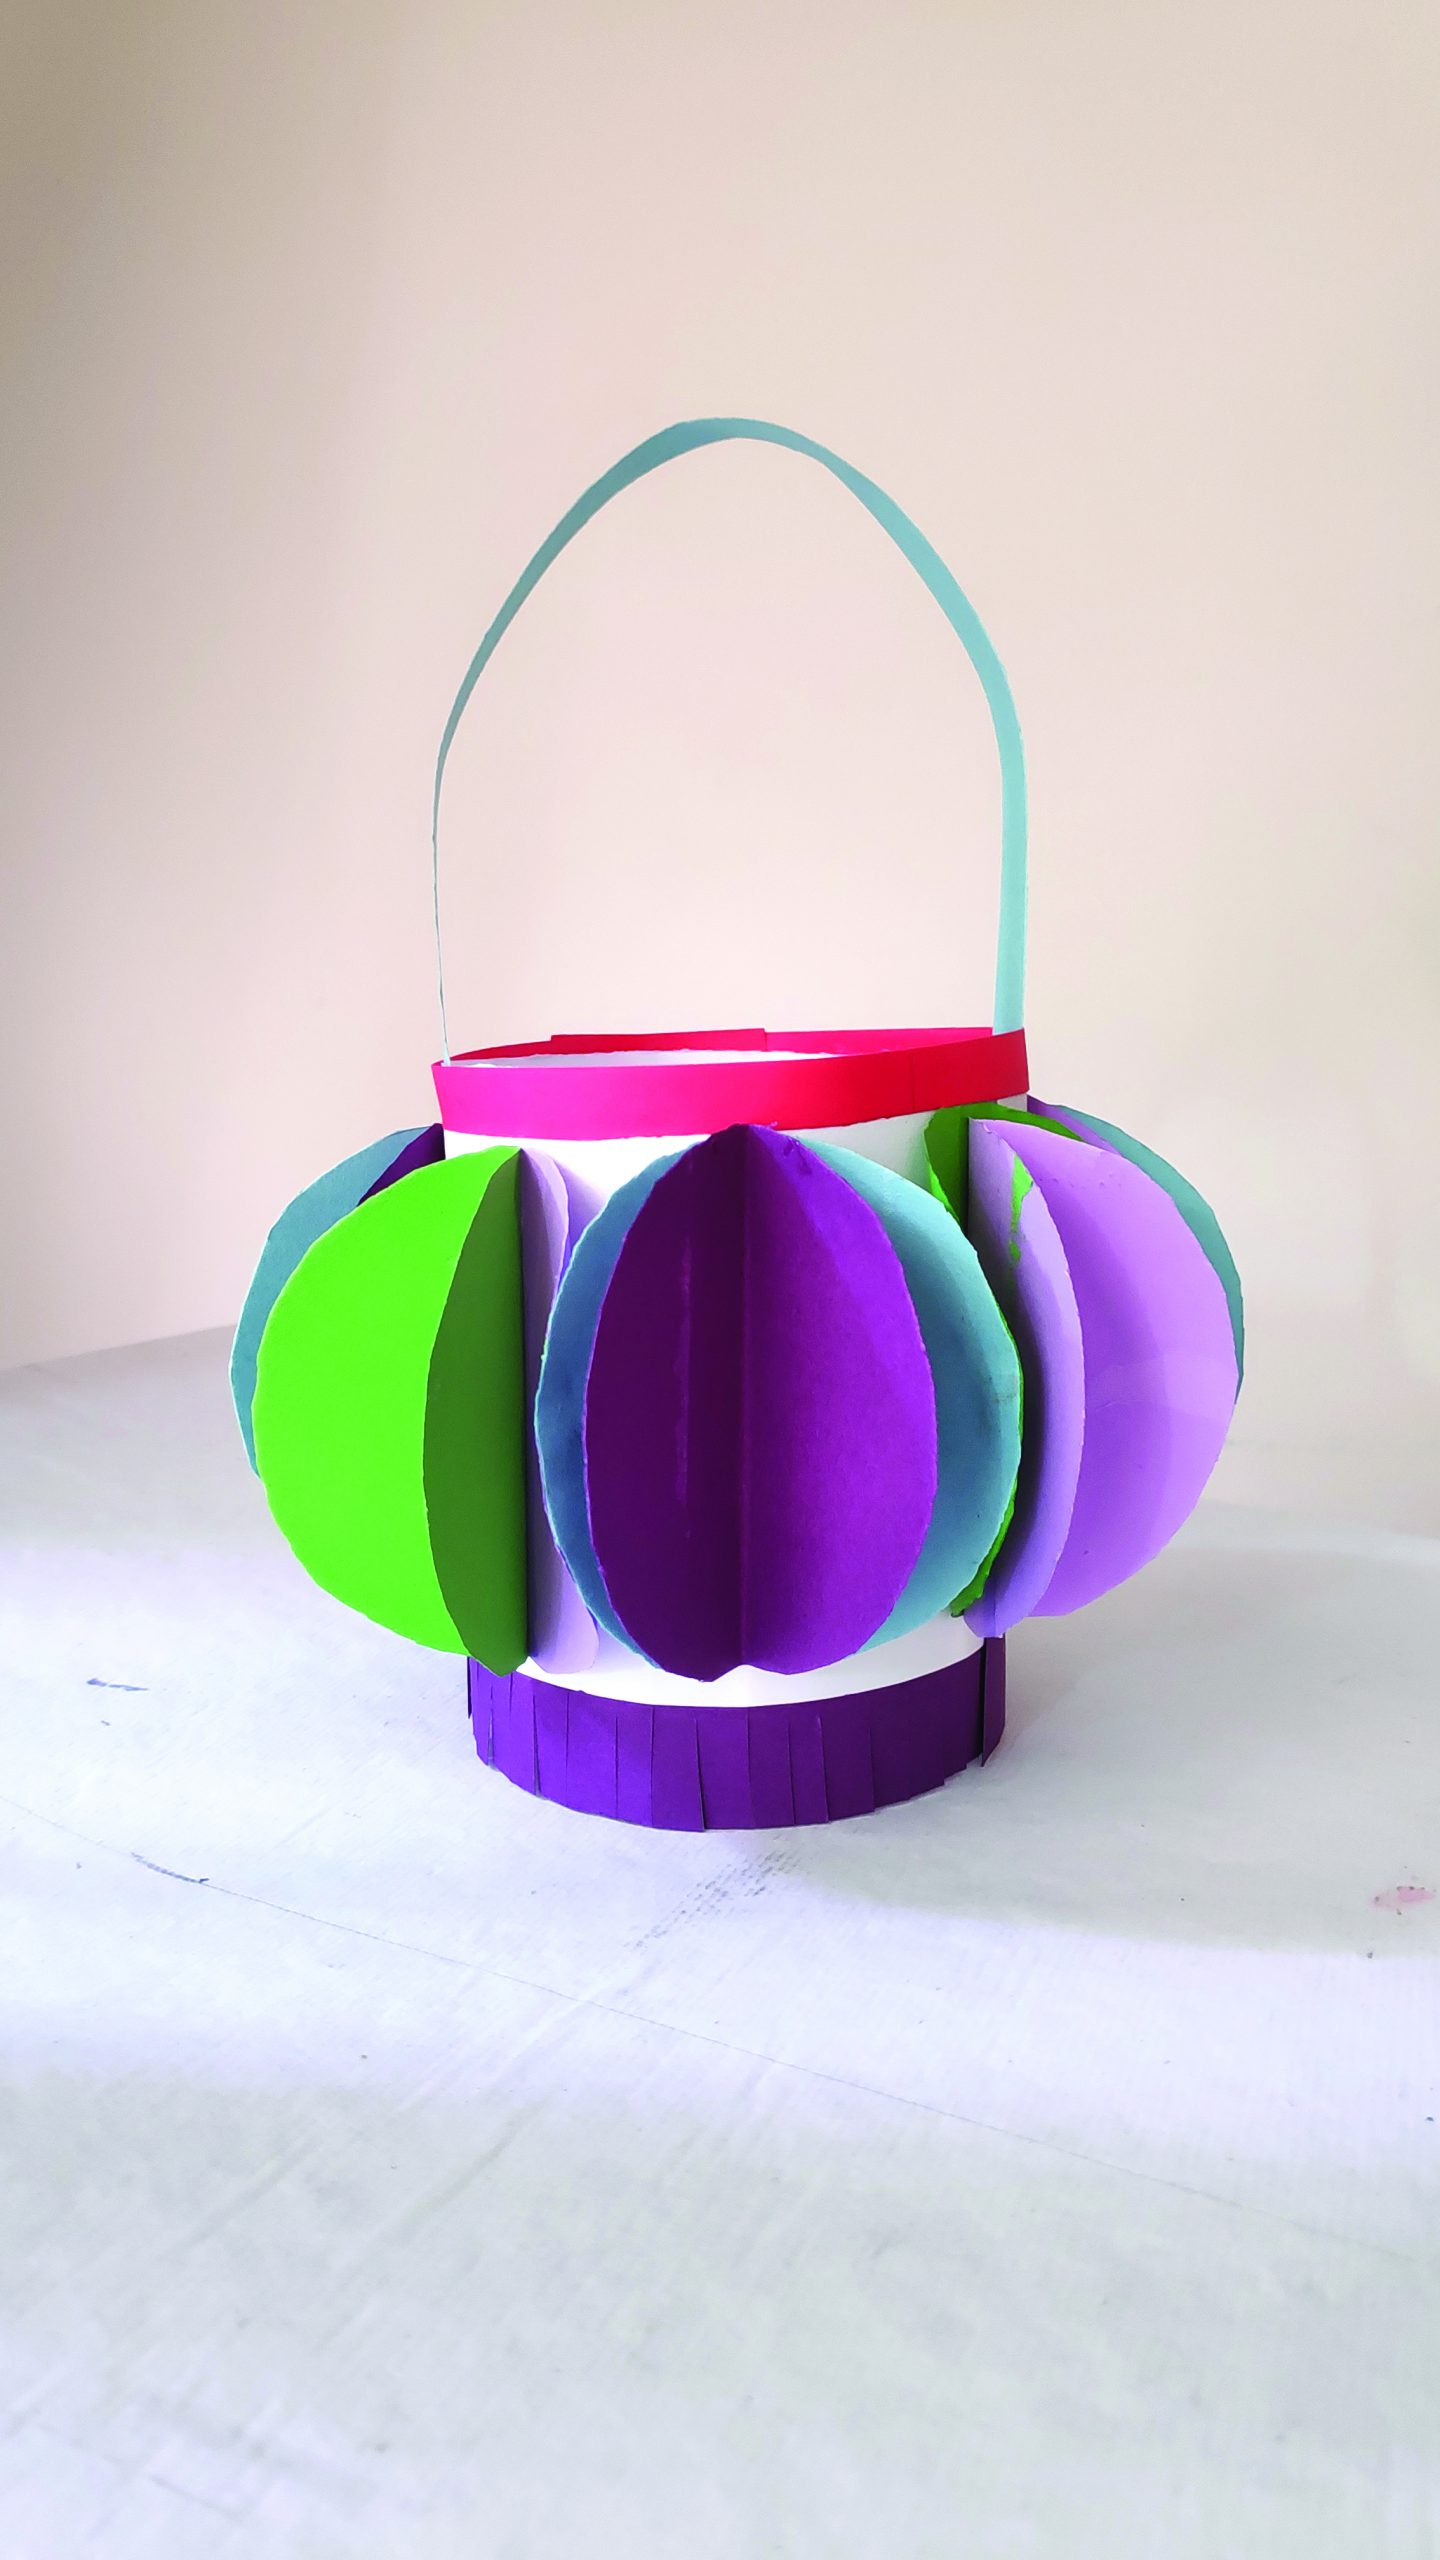
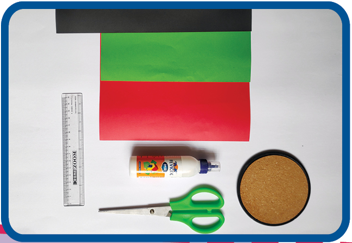
You will need: Red, white, green and black chart papers, scale, scissors, glue and an old coaster.

How to make: 


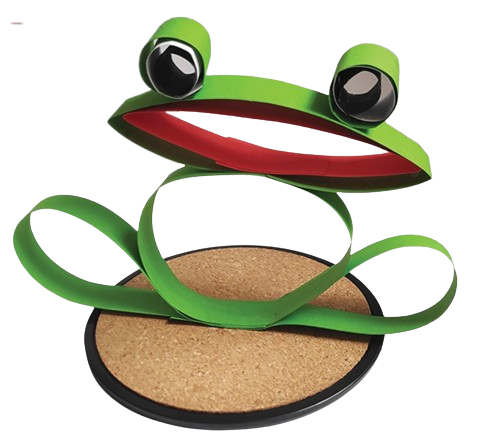
1. Cut 4 strips of green chart paper, each measuring 1.5cm.

2. Fold 1 green strip into a circle and stick the ends.

3. Fold 2 green strips into the shape of a teardrop and stick the ends.

4. Stick the two teardrop shapes and the circle, as shown in the picture. This will form the legs and body of the frog.

5. Fold the last green strip into a circle. Pinch any two corners of the circle to form the head of the frog.

6. Stick this to the frog’s body.

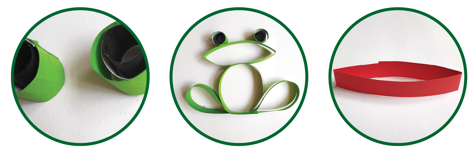
7. Cut strips of green, black and white chart papers. Fold them into a circle and stick it together for the frog’s eyes.

8. Stick the eyes on the head of the frog, as shown.

9. For the mouth, cut a red strip, fold it into a circle and pinch any two corners.

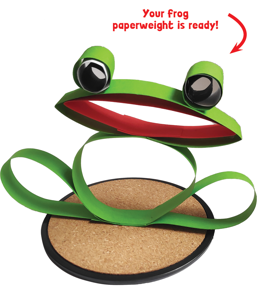
10. Glue it to the head to complete the paper frog. You can stick the frog on a coaster and use it as paperweight.


Try making this yourself at home! Send your creations to us at writetochampak@delhipress.in or take a photo and send it to us at +917042531377

Lantern

You will need:

  • Coloured chart papers
  • Scissor
  • Glue

1. Cut 14 circles from the coloured chart papers. Fold the circles in half.

2. On a long rectangular white sheet, glue the folded circles near each other.

3. Take a thick strip of chart paper and cut fringes on one side as shown.

4. Stick the fringes at the bottom of the white sheet.

5. Roll the white sheet into a cylinder and secure it with glue. Your base of the lantern is ready.

Pencil-Shaped Box!

Make a pencil box at home to store all your stationery!

You will need:

Pink and white chart papers, pencil, ruler, scissors, glue, black marker

How to make:

1. On a white chart paper, draw a rectangle measuring 18x16cms. Divide the rectangle into one row and 6 columns measuring 3cm each.

2. Draw 6 triangles over the columns.

3. Draw a horizontal strip on one side of the rectangle and semi-circles on the triangles. Your template is ready.

4. Cut on the lines and fold the semi-circle flaps inwards.

5. Apply glue on these flaps and the horizontal strip to secure the body of the pencil.

6. On a pink chart paper, draw two parallel lines measuring 18cm. Divide the lines into 6 parts of 3cm each. On this line, draw a hexagon with each side measuring 3cms. Draw a thick border around the 5 sides of the hexagon.

8. Cut the template and fold the hexagon forward. Fold the 5 segments on the thick band.

9. Fold the 5 flaps inwards and glue the segments to them. This is the cover of the pencil box.

10. Use a black marker to decorate the pencil.