Father’s Day Apron

You will need:

Designer paper, colourful paper, ribbon, a pencil, an eraser, scissor, glue, scale and colourful sketch pens.

1. For the apron, draw two curves on a square designer paper.

2. Cut out the two curves.

3. For the pocket of the apron, cut a rectangle from another designer paper and apply glue on 3 sides of it.

4. Stick the rectangular paper on the bottom of the apron cut-out.

5. Use colourful papers to make cut-outs of a spatula, a knife, a fork and a heart.

6. Insert the paper spatula, knife, fork and heart inside the apron pocket.

7. Take a ribbon of the length that can go around the neck and cut it. Stick the ends, forming a neckband.

8. Stick the neckband on the backside of the apron.

Your Father’s Day Apron is ready!

Veggie Art

You will need: • Vegetables (a Potato, a Lady’s Finger, a Carrot, some Coriander• Knife • Glue • Acrylic Paints • Paper

Cut and Colour Cut the vegetables in half and paint over the exposed portion. You are ready to Potato paint!

___________________________________________

1. Take a sheet of paper and divide it to two equal parts. Leave room for a small flap.

______________________________________

Veggiart2

2. Fold the ‘A’ to ‘C’ along ‘B’ like shown in the image.

___________________________________________

Veggiart3

3. Glue the left and right edges. Don’t apply glue on the flap.

_________________________________________

Veggiart4

4. Shape the flap like shown in the image.

_______________

Veggiart5

Your envelope is ready. Use the vegetables to create colourful patterns on the cover.


Veggiartfinal

3-D Art

You will need:

Mount board, tinted coloured papers, pencil, glue, scale, scissors, marker, double sided foam tape, textured paper, straws.

Tip: Stick the background coloured paper on the mount board to give it support.

____________

craft

1. Draw the scene that you want on the coloured background paper using pencil. Here we have drawn a bridge.

________________

craft

2. Draw the other parts of the scene on coloured paper, cut them out, and glue them on the background

__________________________________

craft

3. Cut straws in varying lengths according to where they have to be pasted and paste them there.

__________________________________

craft

4. Paste other parts of the scene by putting one, two or more layers of tape under it for the 3-D effect.

________________________________

craft

5. Make sure you use different layers of tape to give each component a unique look.

_____________________

craft

Use 4 layers of tape for the outer frame, and your 3D artwork is ready to hang on your wall!

______________

Make your own 3D art and send us photos at writetochampak@delhipress.in

Rubber Band Necklace

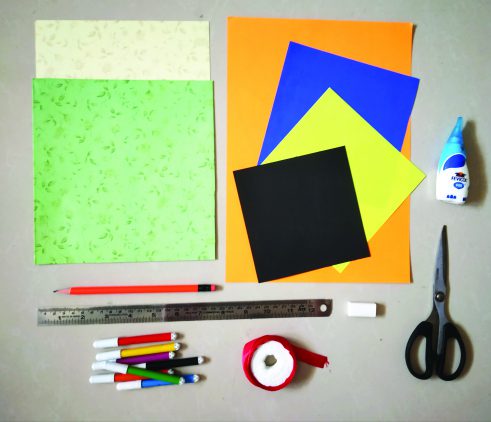
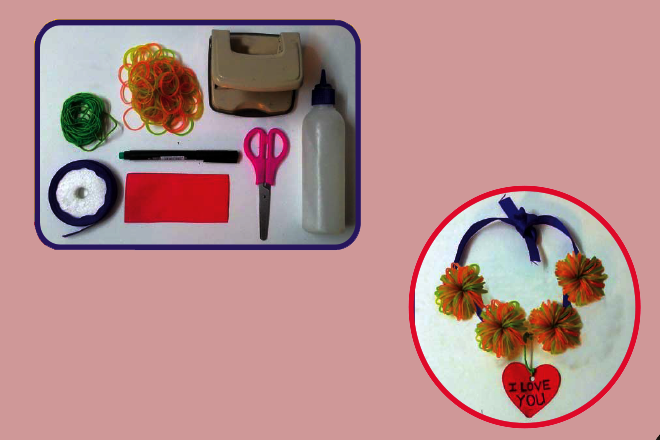
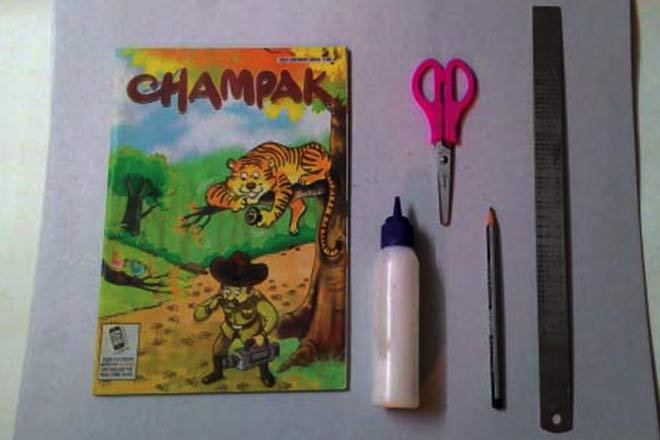
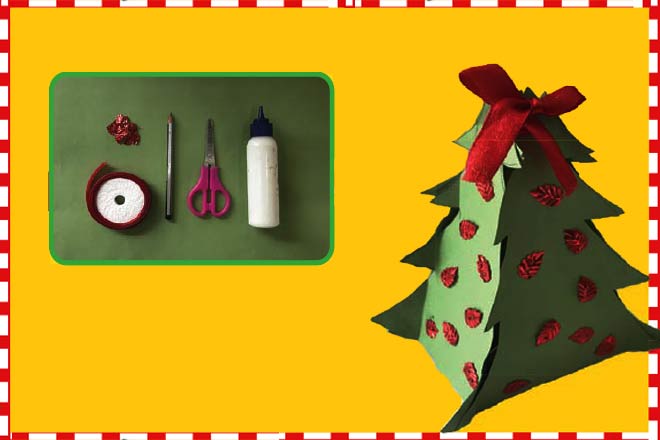
You will need: Lots of small rubber bands, strings, ribbon, red colour paper, punch machine, glue, scissors and pencil.

Tip:Instead of rubber bands, use colourful strings to make flowers.


How to make

valentine1

1. Thread some rubber bands (about 60) through a piece of string that is 5cms long.

______________________________________

valentine2

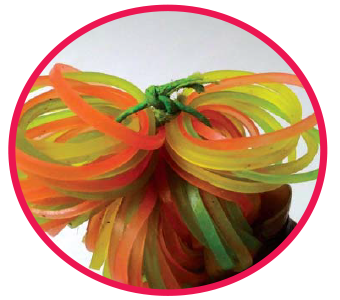
2. Tie the ends of the string into a knot. You will now have a rubber band flower.

______________________________________

valentine3

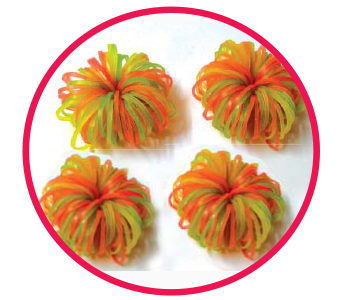
3. Make three more rubber band flowers.

______________________________________

valentine4

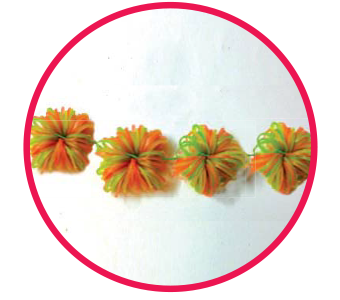
4. Thread a long string through the four rubber band flowers.

______________________________________

valentine5

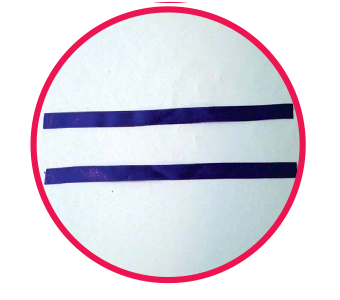
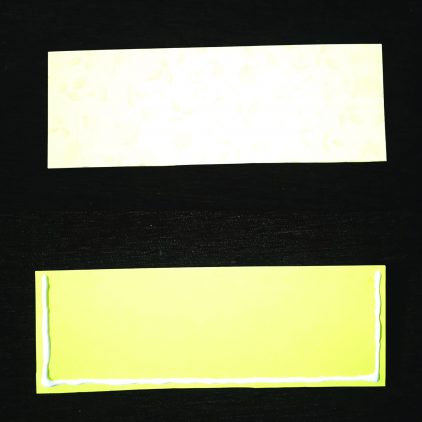
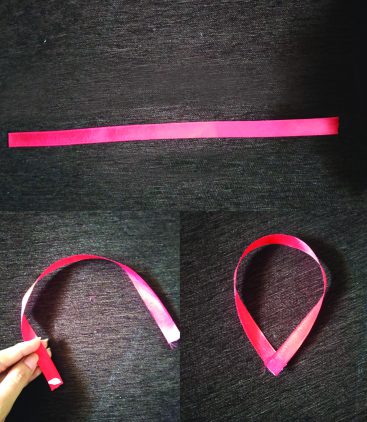
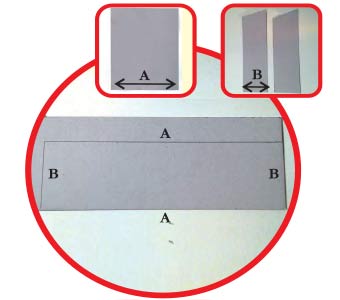
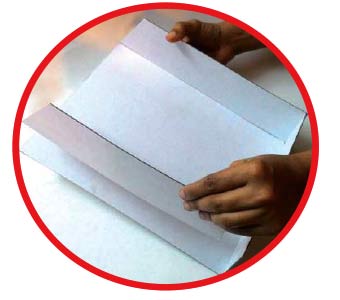
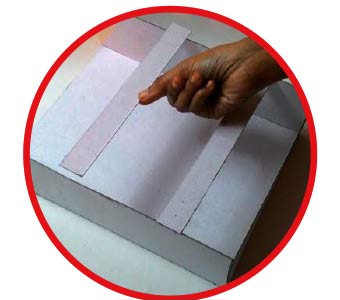
5. Cut two strips of ribbon, each about 10cms long

______________________________________

valentine6

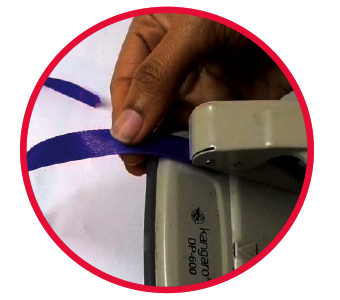
6. Using the punch machine, make a hole on one end of each ribbon.

______________________________________

valentine7

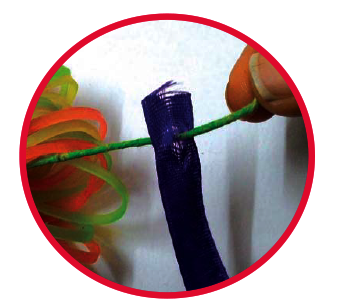
7. Thread a ribbon through one end of the string that runs through the rubber band flowers.

______________________________________

valentine8

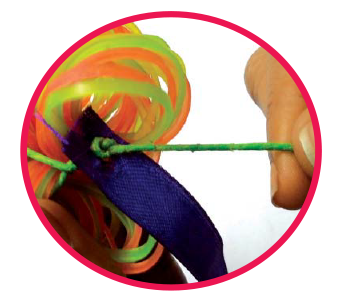
8. Tie a knot as shown. Similarly, thread the second ribbon to the other end of the string.

______________________________________

valentine9

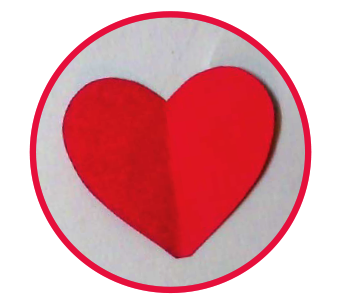
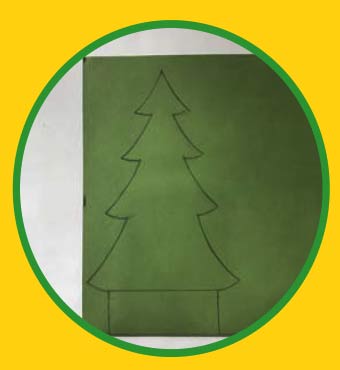
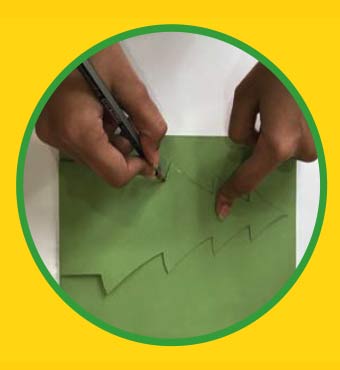
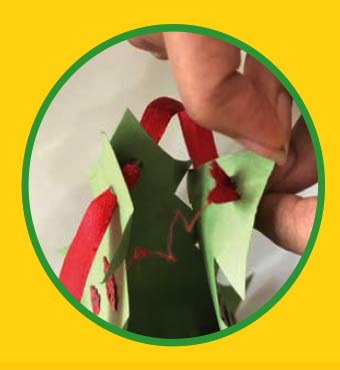
9. Draw a heart on the red colour paper and cut it out.

______________________________________

valentine10

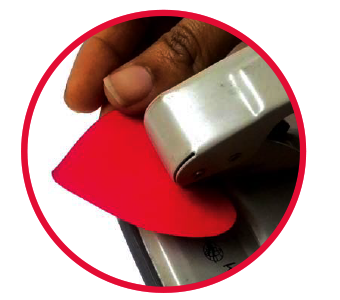
10. Using the punch machine, make a hole on the top of the cutout.

______________________________________

valentine11

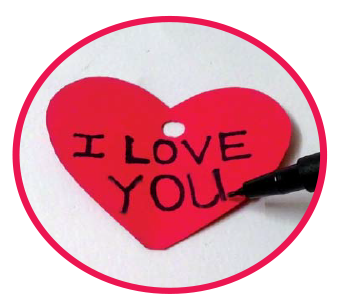
11. Write a message for your valentine on the heart.

______________________________________

valentine12

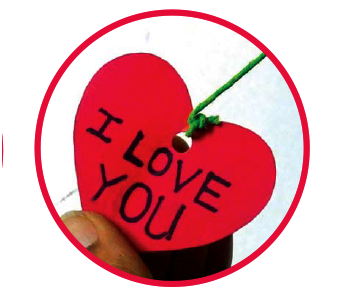
12. Tie a string to the heart as shown.

______________________________________

valentine14

13. Tie the other end of the string between the rubber band flowers.

______________________________________

valentine14

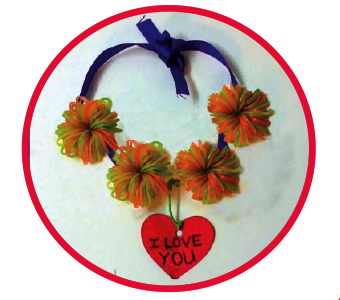
14. To wear the necklace, tie the ends of the ribbon around your neck.

______________________________________

valentine15

Your valentine necklace is ready!

Magazine Rack

You will need:

  • Mountboard,
  • acrylic paint,
  • paint brush,
  • pencil, scale,
  • glue and scissors.

craft

1. Place the magazine on a sheet of mountboard and cut around it so that the cutout is slightly bigger than the magazine.

_________________________________________

craft

2. Make two more rectangular cutouts that are narrower but about the same height as the cutout in step 1. These will form the sides of the rack.

_________________________________________

craft

3. Make another rectangular cutout for the base using the measurements from the previous two cutouts as shown.

_______________________________________________

craft

4. Stick the cutouts from Step 2 along the sides of the cutout from Step 1 as shown. Then stick the base as well.

_______________________________________________

craft

5. Cut two thin strips from the mountboard and stick to the front of the rack. Paint the rack.

_______________________________________________

craft


Now you can put in your favourite Champak magazine in your very own magazine rack!

Christmas Tree Gift Box

You will need:

Green paper, a pencil, a pair of scissors, glue, ribbon and red decorative leaves.

How to make:

Christmas tree box

1. Fold the green paper into half. Draw a Christmas tree with a base as shown in the picture. Cut it out.

____________________________________________

Christmas tree box

2. Take another sheet of green paper. Place the cutout on it, trace its outline and cut it.

____________________________________________

Christmas tree box

3. Fold the edges of the Christmas tree cutouts as shown.

____________________________________________

Christmas tree box

4. Cut the edges of one of the cutouts and stick it onto the other.

____________________________________________

Christmas tree box

5. Make holes at the top of the Christmas tree. Put a ribbon through this hole.

____________________________________________

Christmas tree box

Your Christmas tree gift-box is ready!

Try making this yourself at home! Send your creations to us or take a photo and send it to us at writetochampak@delhipress.in

Meander book

The meander motif is named after the river Meander, a river with many twists, mentioned by Homer in Iliad.This motif is also known as the Greek key or Greek fret.

To make your own meander book-

You will need:

A 4 size paper, thick coloured paper, scissors and glue

Method:

1. Fold the paper into half along the dotted line from left to right.

Meander

____________________

2. Unfold and bring both the edges of the paper to the center.

Meander

_______________________________________

3. Now repeat the steps 1 and 2, this time by folding the paper from top to bottom. You should have 16 rectangles like these.

Meander

_____________________________________

4. Cut along the red lines as shown in the picture. We have marked the rectangles of the first row as a, b, c, d. Fold each rectangle forward like a fan till you reach the end of the first row. So ‘a’ goes over ‘b’ and keep folding forward till you reach ‘e’. Now fold d’ behind ‘e’ and keep going forward.

Meander

____________________________________________

5. Cut two rectangles 6 x 8 cms and stick on either sides of your meander book as covers.

meander

Fill your meander book

You can write a story, poem or use it as a scrapbook. Cut out! pictures you like from old newspapers and magazines. Write down interesting facts you learn or quotes you read. Carry it to school or keep it on your desk, there’s so much you can do.